
Give me a Brake!

Complete Car Care • November 9, 2015

Share this article

Give me a Brake!

Hello again, 93636
One of the most common “do it yourself” automotive repair and/or maintenance jobs I know of is a brake job. With just a very few tools and a cell phone camera it should go pretty well.

Only take one brake apart at a time. Use the one you don’t take apart as a reference – hopefully the person before you got it correct – and then just take pictures as it’s disassembled. Let’s start off by diagnosing that vibration you feel when you apply the brakes, especially braking at higher speeds. The predominate cause of braking vibrations are warped brake rotors. This generally occurs from over-tightening the wheel nuts or overheating. Don’t blast those wheel nuts on with an air gun. Look up the torque specs and torque them. This will save you some money as well as a redo.

To use the following diagnostic procedure, first check and see if your vehicle has front disc brakes and rear drum brakes. Most do. If so, here is the procedure I use to isolate a brake vibration. I drive the vehicle at 40 mph and then apply the parking brake. DON’T APPLY ANY OF THE BRAKES HARD ENOUGH TO LOSE CONTROL, ESPECIALLY THE PARKING BRAKE!!! By applying the parking brake, I’m applying only the rear brakes. If a vibration is present, the vibration is from the rear brakes. If a vibration is not present, I step on the brake pedal and add in the front brakes. If a vibration occurs now, the vibration is from the front brakes. I’d say 90 percent or higher brake vibration complaints are the front brake rotors. That’s because the front brakes do 70 percent of the work and generate the most heat. Because the front brakes do most of the work they are larger but still wear out about 2.5 times as often as the rear brakes, depending on your driving style. The preceding procedure doesn’t work with four-wheel disc brake vehicles. For those, when applying the brakes, if I feel the pulsation in my hands, I think the vibration is from the front brakes. If I feel the pulsation in my tail bone, I think the vibration is from the rear brakes. This is very subjective and difficult if the vibration is light to moderate. Many times I have to use a dial indicator and measure the brake rotor runout, or “warp” in the rotor. Maximum runout is .002-.003. If a brake rotor is warped, I always replace it. Machining brake rotors make them thinner and more susceptible to heat and warpage. If your brake job doesn’t have a vibration concern, don’t touch those rotor surfaces. If they are thicker than the discard specification and are not damaged by cracks, gouges, etc., reuse them exactly the way they are. TRUST ME on this one. I will save you a lot of money and problems. I have not resurfaced brake rotors for nearly eight years. Usually the discard thickness is stamped into the metal. You will have to look for it. It may be covered by brake dust. NEVER EVER EVER NEVER breathe the brake dust. It is dangerous. Place a catch can under the brake assembly and spray off the brake dust with brake cleaner before disassembly. By the way, the stuff in the catch pan is hazardous waste. Treat it as such.

Ok, let’s remove the brake caliper and remove the used brake pads. They will tell us what we need to know. If the outside brake pad is worn much more than the inside brake pad, the sliders are sticking. Get some sandpaper and remove the rust and road grime from whatever the caliper slides along. Lubricate the sliders with synthetic brake grease. If the inside pad is worn out more severely, the caliper piston is sticking and both calipers should be replaced. REMEMBER, WHATEVER YOU DO ON ONE SIDE ALSO DO ON THE OTHER SIDE! You do not want one side working more efficiently than the other side. This could cause a pulling condition during braking but more problematic is loss of control during a panic stop. Next, open the bleeder valve and push the piston back in until it stops. Reinstall the used brake pad and push against it, not the piston. Don’t force it. It should push in easily with a clamp. Before you take the clamp off, close the bleeder valve. That way air is not introduced into the brake hydraulics. Lubricate with syn thetic grease wherever there is metal to metal. That includes the back of the new brake pads also. It is metal to metal that causes brake squeal, not braking surfaces like a brake rotor or pads. Reuse or install those new funny metal clips. They prevent squealing. Reinstall the caliper tightly. Before you pump the brake pedal you should be able to easily slide the caliper back and forth. If not, the slider is still binding. Before you put the vehicle in gear, add an equal amount of brake fluid that was lost when the caliper was pushed in. Pump the brake pedal until it is high and hard BEFORE YOU DRIVE. Make a few practice stops before driving on the road. You will not have to break in the new pads if you use good quality. If you have questions or run into problems, text pictures and questions to 559-907- 7661 or email complete_car_care@hotmail.com. That email address can also be used to suggest future topics or ask other questions.

Thank You and God Bless 93636
Warren Parr
California Smog License
#EO139887

California Star Station #117312

Recent Posts

By Complete Car Care • October 22, 2024
Codes P0171 (Lean Bank 1) & P0175 (Lean Bank 2) are probably the two most common emissions codes we deal with on a daily basis. The fundamental failure is that the Oxygen Sensor...
By Complete Car Care • October 22, 2024
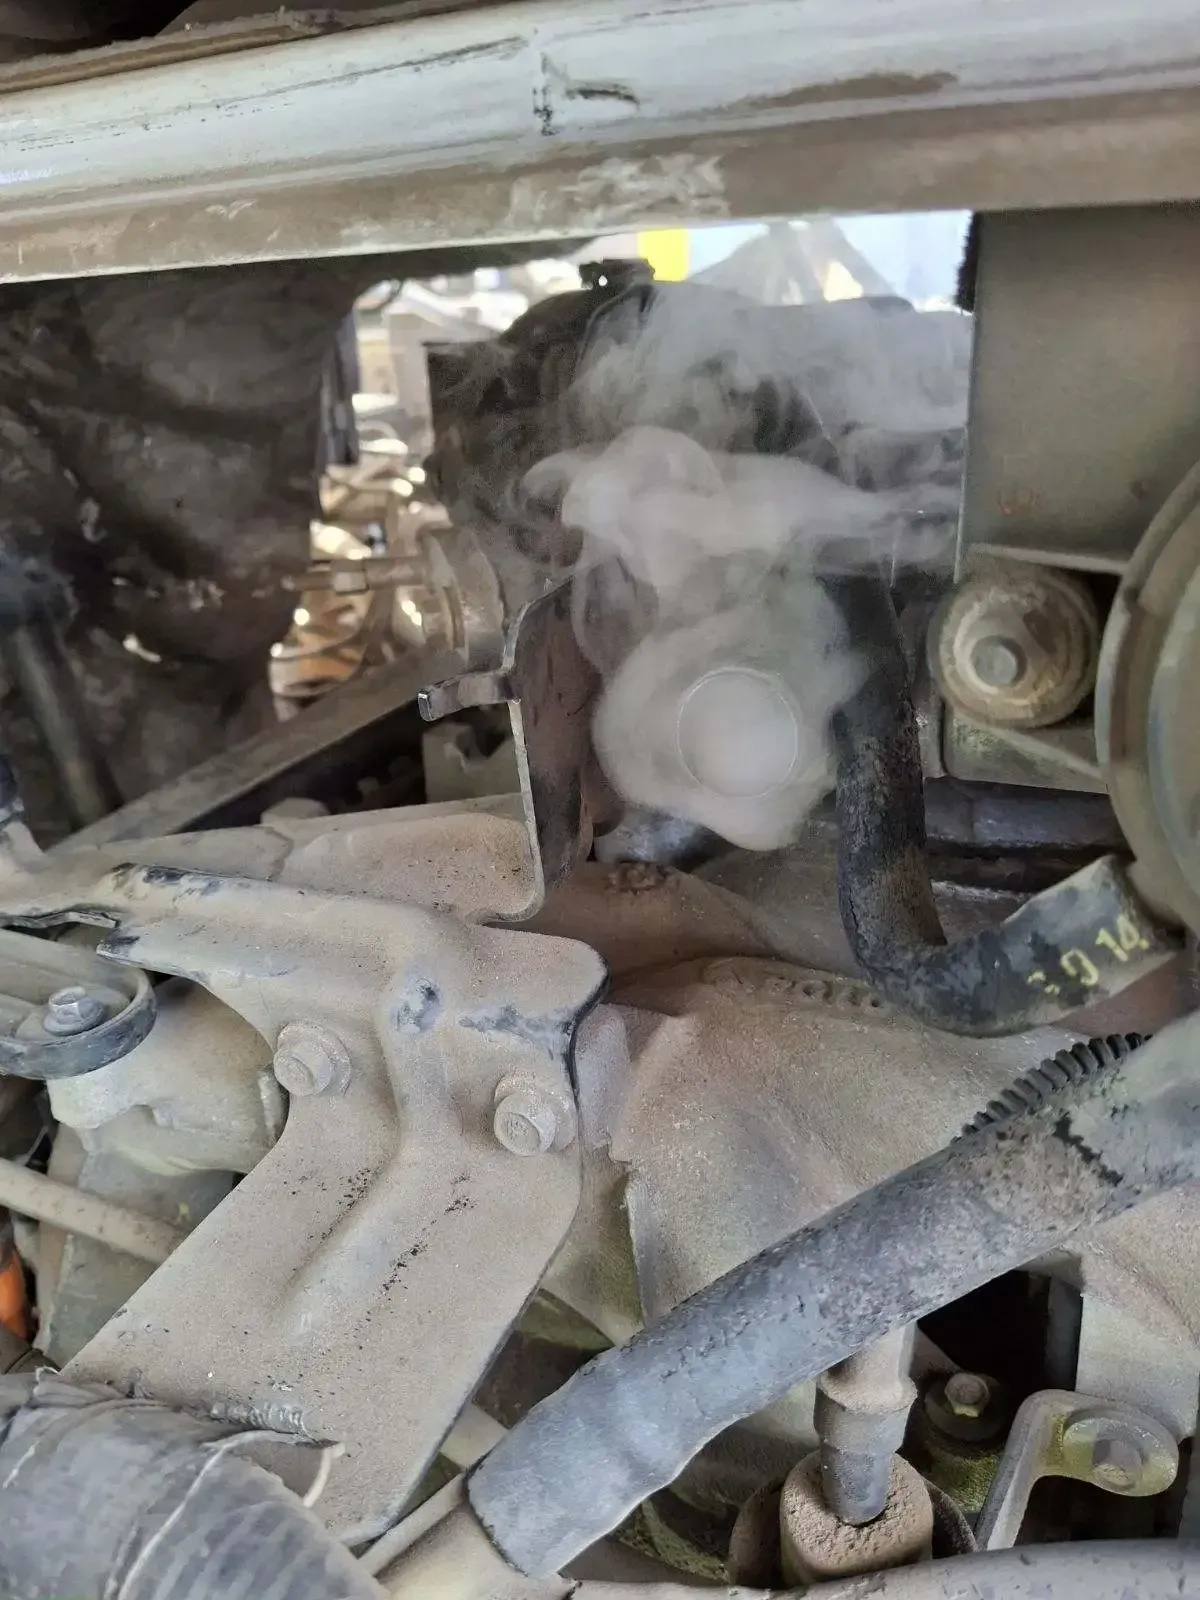
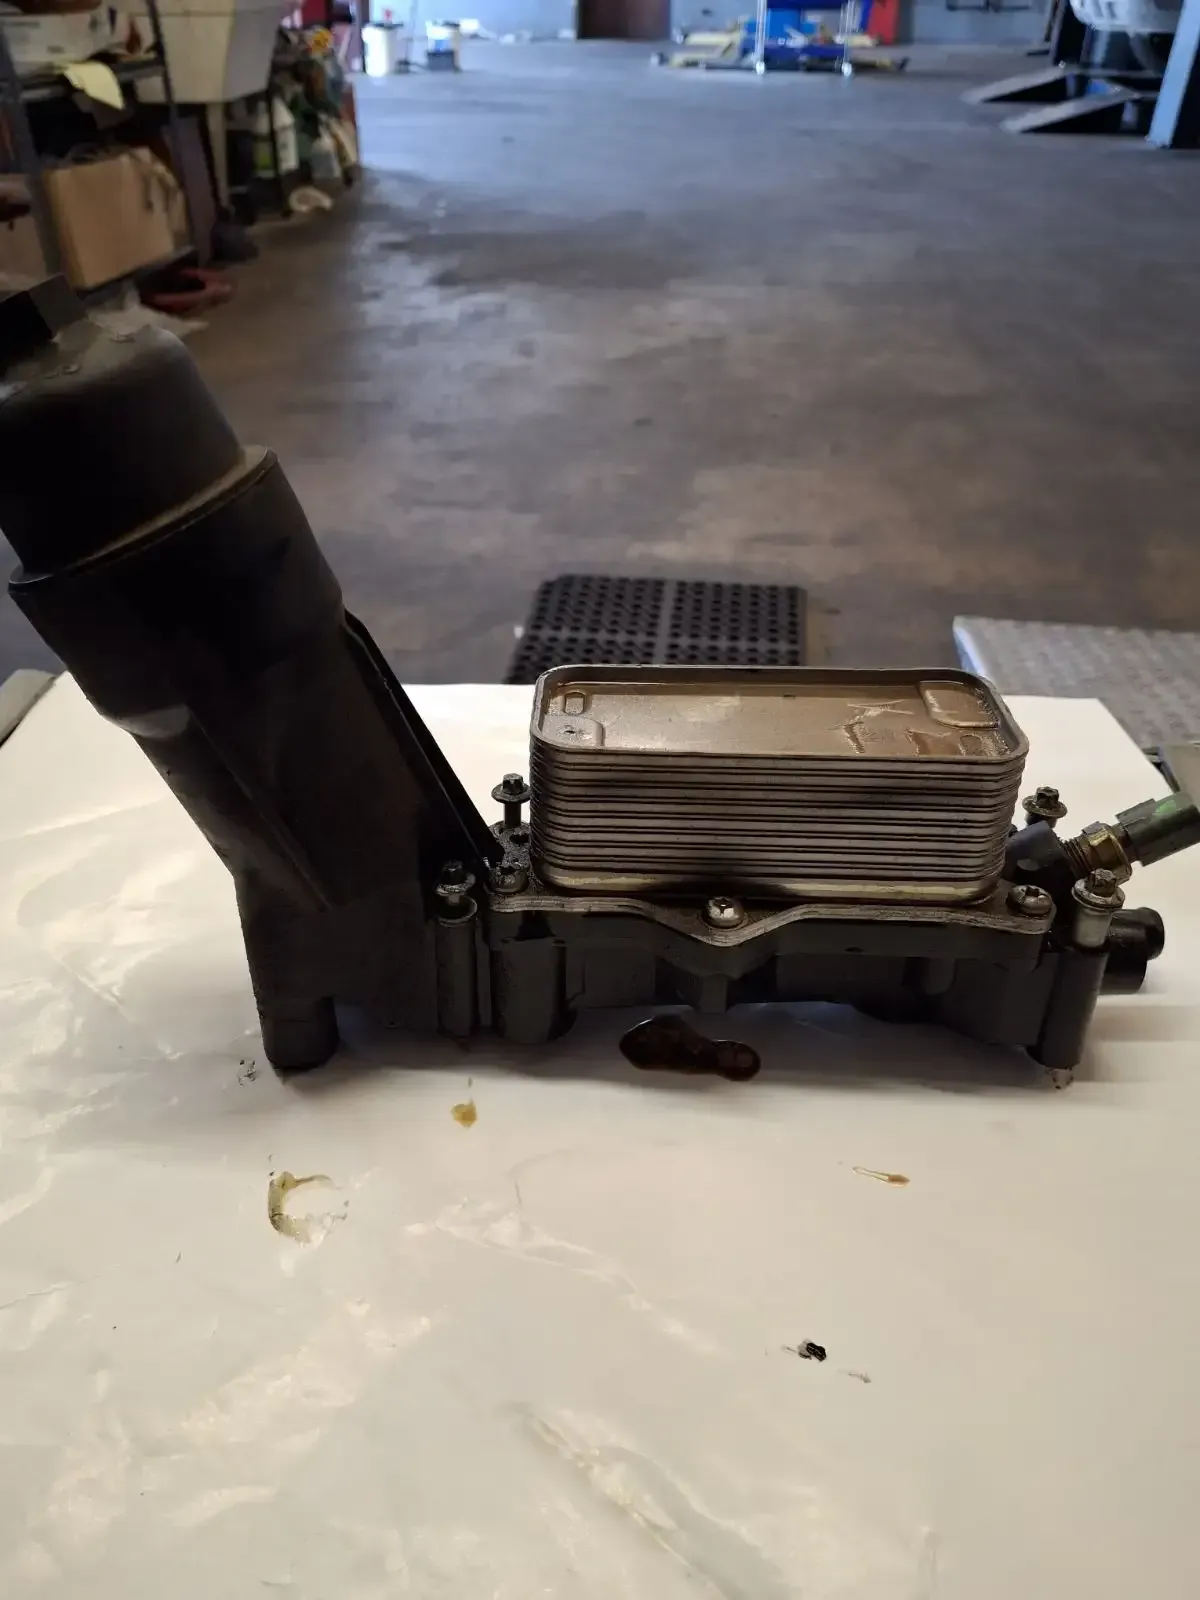
Hello to all my Complete Car Care Friends & soon to be Friends. Here we have a Jeep for which my customer was complaining of a transmission fluid leak. The engine is a 3.6L V6...
October 1, 2024
Hello All. Thank you for considering Complete Car Care for your automotive diagnostic needs. Since 2019, the first Saturday of each month, a group of local NAPA AutoCare Service...
By Complete Car Care • September 26, 2024
Fresno Unified School Dist. is the 3rd largest school district in California. When you add all the other School Districts, this event at Chukchansi Park is one of the largest high...
By Complete Car Care • December 9, 2016
The Injection Section
By Complete Car Care • November 9, 2016
Don’t Fail Your Water Pump
By Complete Car Care • October 9, 2016
Don’t Anti-Seize the Day
By Complete Car Care • September 9, 2016
Electric Everything
By Complete Car Care • August 9, 2016
The HC Detective
By Complete Car Care • July 9, 2016
How to Keep Cool
Show More